Wednesday, 10 October 2012

Make a Paper Necklace


Hello Readers, We're back after a break... Did you miss us? I hope you have been enjoying 'making' in our absence. We've enjoyed a family holiday in sunny Cornwall and my little sisters wedding in the beautiful city of Prague. We've had an amazing few weeks but it has left very little time for making and even less time with my laptop writing posts. But, we are back to our usual routine now and ready to get creative.

This post is about making paper necklaces. This was a hit with Amelie, she does love her bling!! But boys too will enjoy this 'make' creating a Paper Necklace either for themselves or their Mum, Nanna or favourite teacher.

Amelie & I modelling our paper necklace & bracelet

I fear that you may find me repeating myself during my blog posts. But it is always worth mentioning the benefits of 'making'. Many of the pieces we create help develop fine motor skills, essential for correctly holding and controlling a pencil, using scissors and playing musical instruments. Threading beads onto string is a simple and effective way to exercise hand-eye coordination and, in turn, fine tuning your child's fine motor skills. 

Time taken for us to make: 45 mins

Cost to me: Nothing

Original Instructions


What we used: 
  • Different paper 
  • Glue stick
  • Pencils
  • Scissors 
  • Paints 
  • Small paint brush 
  • Wool 

What we did:

We gathered different types of paper. Some were coloured sheetsof plain paper, others were torn from magazines, a yellow pages and a phone directory. We then cut the paper into squares approximately 6 ins x 6 ins then rolled each sheet fairly loosely around different pencils then fixed then end edge with glue. 

A selection of paper 
Roll the paper around the pencil and glue the edge to fix

.
When the glue was dry we then slid the pencils out of the paper tubes. Using scissors we cut the tube into approximately 1cm beads. Amelie loves painting anything small so we used the white beads to paint different colours and left them to dry. 

Cut the tube into beads

Completed beads

Paint the white beads
We were then ready to thread our beads onto the wool. The holes in the beads are big enough to thread wool fairly easily, but to help Amelie along we used a plastic needle. We tied the first bead to the end of the wool leaving enough wool to tie the ends together when the necklace is complete.

Tie the first bead to the wool

Thread the beads
Keep adding beads


When all the beads were added we tied the ends together. 


The necklace was then complete and ready to be worn with pride. We also had enough beads to make me a bracelet. These are a great addition to any fancy dress box or made for a specific occasion. They could be colour themed to suit. For example, with Halloween approaching they could be made with orange, green and black. 

Thursday, 13 September 2012

Make Tissue Pom-poms

This 'make' was a bit fiddly for Amelie (who is three years old), however she joined in where she could and enjoyed decorating her room with the end product!

Tissue Pom-poms
These tissue paper pom-poms are great for decorating gifts, brightening a lamp shade or use them for festival decorations. They look brilliant in pastel shades for Easter or green and red for Christmas. 

Time taken for us to make: 45 minutes to make five

Cost to me: £0.99 - I bought a pack of 100 sheets of brightly coloured tissue paper for 99p in a cheap bookshop. 

Original instructions

What we used: 
  • Scissors 
  • Pencil
  • Needle and thread
  • Several different coloured sheets of tissue paper 
  • An empty fruit pot

What we did: 

We took 2 pieces of tissue paper in different colours and folded them together a couple of times to make several layers. We then drew around a fruit pot to make a perfect circle and then cut it out to create 8 circles of tissue paper, 4 in each colour. 

Fold sheets together and draw around the fruit pot

Cut out the circles, 4 of each colour
We then folded each circle in half and then quarters. Amelie helped with this bit. 

Fold circles in half...
and the quarters


To attach the circles to each other we threaded a needle and tied a large knot on the end. We threaded each folded circle through the corner onto the cotton, alternating the colours. A large knot was tied to secure them. 

Thread each circle onto the thread...
alternating colours 


The circles are secured with knots at each end

Now for the tricky bit... we carefully pulled each circle open forming a pom-pom. 


We then pegged the pom-poms to Amelie's lampshade - We think they look FABULOUS!

Monday, 10 September 2012

Make a Picture Jigsaw

This is a great rainy day activity. It's often on rainy days that puzzles are pulled out and scattered on the floor or across dining tables. But sadly after a while they just become too easy, and eventually a bit boring. Making your own will give you a new collection to challenge little minds. Amelie loves puzzles, so she really enjoyed making her own. 


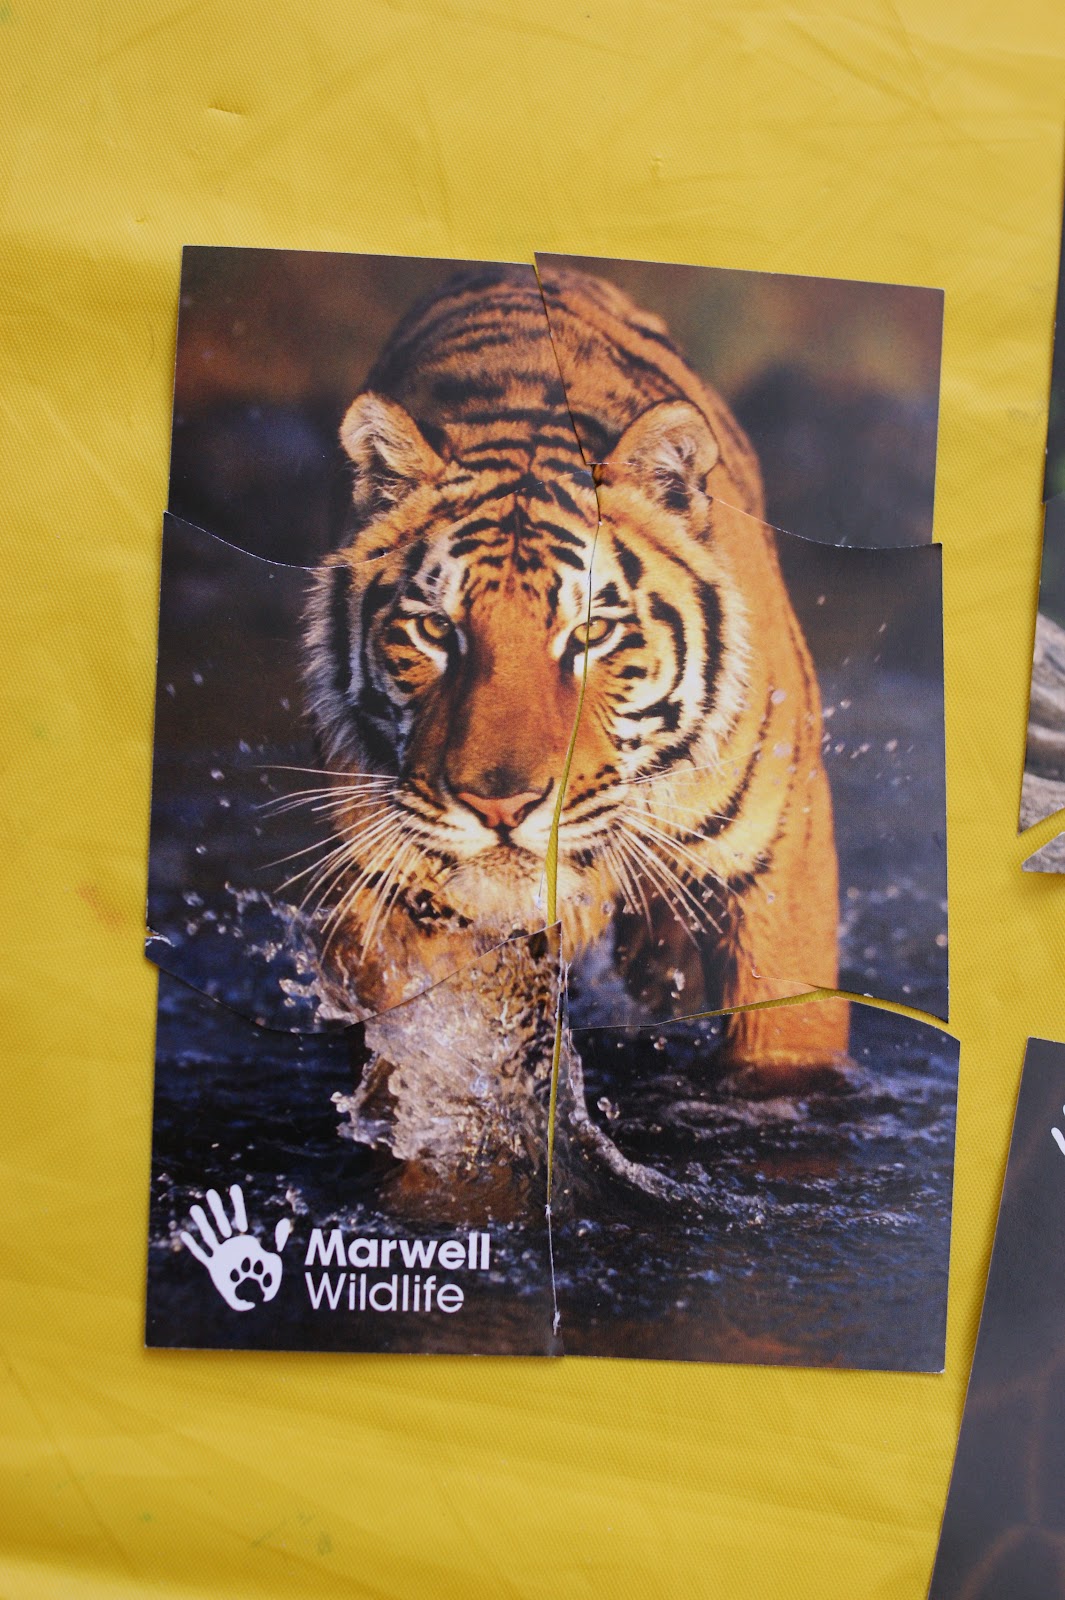
Making jigsaw puzzles simply requires a clear image on card. You can use anything, greetings cards, photos, postcards even cereal boxes. We chose to use postcards that we bought from a trip to the zoo. Our puzzles are a great keepsake from a lovely day out. 

Our postcards


Time taken for us to make: We made 5 in about 45 mins 

Cost to me: £1.50

Original Instructions

What we used: 
  • 5 x postcards 
  • Pen 
  • Scissors
  • Small paper bags 

What we did: 

On the reverse of the postcards we drew several wavey or straight lines and then cut along them to make the pieces. We made a different types, varying in difficulty to solve. 


Draw lines on the reverse

Cut along the lines

We then put each puzzle in their own paper bag and labelled them. You can use envelopes or plastic wallets.


Puzzles complete and stored

After dinner that evening Amelie enjoyed completing her new puzzles with her Dad (she shares her love of puzzles with Dan). 


These puzzles will be used time and time again. 

Friday, 7 September 2012

Readers 'Makes'

Just wanted to add a post to show everyone some great 'makes' pictures - I can hear Tony Hart introducing viewers artwork in The Gallery as I type... If you are a British child of the 70's or 80's you will undoubtedly remember a children's TV presenter called Tony Hart and his BRILLIANT art programmes such as Vision On and Hartbeat. He always encouraged viewers to send in their art which he would then show on his programmes in a section called 'The Gallery'. Anyway, enough reminiscing... don't even get me started on Neil Buchanan and 'Art Attack' - Love it.

Back to why we are here... We're so pleased that people are joining in!! Yay!

Amelie received an actual 'make' in the post from a lovely friend. Stephanie has been getting creative during her coffee break (you see, this isn't just about having fun with kids). This Coin Picture (see Blog Post: 07.08.12) was created using materials found in a desk drawer. Thank you Stephanie, we have stuck it in our Scrapbook (see Blog Post: 27.07.12) x


Another treat for us was seeing little Mia and her Mum Ren making Sock Puppets (see Blog post: 10.08.12). They created 'Sid' and 'Twinkle Toes' - Great names girls. Thank you for sending us your lovely pictures. 

Mia
Twinkle Toes & Sid 

We'd love to see more of our readers photos. You can send them to us via Facebook or Twitter x


Make a Potato Print AND a Carrot Print

This is a bit of a classic! I'm sure most of you reading this will remember making potato or vegetable prints at school or at home. Very simple and lots of fun.

Potato Print

Kids LOVE painting & playing with food, this combines the two! Printing is very satisfying for children who are still developing paintbrush skills as they get to create clear shapes instantly. Amelie loves using a brush to cover the potato in paint and then pressing it on the paper.  

Time taken for us to make it: 30 minutes

Cost to me: Nothing, already had potatoes in the cupboard

Potato Print Instructions
Carrot Print Instructions

What we used: 
  • 2 x Potatoes
  • 2 x Carrots 
  • Knife
  • Cookie Cutters
  • Paints 
  • Brush 
  • Paper

What we did: 

We cut the potatoes in half and cut a simple shape on the flat side of one half of the potato. Then we did the same with the other halves. 

To make the star shape I pushed a cookie cutter into the potato then cut away the edges. Taking the cutter away left a perfect star shape - A lot less fiddly than trying to cut one free hand.

Cookie cutter can help make neat shapes


Once the potatoes were cut we did the same with the carrots. 

Potato star, square, triangle & ridged circle


Carrot circle, square, triangle & bar


We then brushed paint onto the shapes and pressed them onto the paper. 


My potato print - 'Boxer' 

Amelie's potato print - 'Shapes' 

Amelie's carrot print

I think this will be a 'make' we will be doing time and time again. Very simple. 

Thursday, 30 August 2012

Forward Planning... Flower Pressing for 'Pressed-Flower Calendar'.

Today we made preparations for a 'Make' that we will be creating later in the year. To make a Pressed-Flower Calendar we need... pressed flowers!

We had to collect flowers now, while there is still a variety to choose from before the autumn sets in. If you don't have the time to do this within the next couple of weeks, you could collect a variety of leaves as they change to shades of red, orange, yellow and purple in the autumn.

We collected some wild flowers on the way home from the shops. There are lots of wild flowers / pretty weeds to be found next to paths. Just a note - Do keep an eye on your child as they dash around picking flowers... a neighbour could get very angry if their prized Begonias are pinched!

Our collection of flowers and leaves

After collecting our wild flowers, we ventured into our garden to carefully gather some leaves and blooms. 


You can buy a 'flower-press' from most craft stores or some toy or book shops. But we'll be using a pile of heavy books. To help keep the flowers in place as we transfer them to and from the bottom of the pile of books, I cut along the edges of a plastic wallet so it is only intact one side. You could use a magazine. I then placed a piece of paper in the wallet, upon which the flowers will be placed. We trimmed the stems of the flowers and then placed them facedown onto the paper.

Trimmed plastic wallet

Trimming the stems 


Flowers and leaves in place on paper 
 

When all of the flowers and leaves were in place, we added another sheet of paper on top and closed the plastic wallets. The wallets were then placed in the back cover of a large book and then heavy books were added on top. The pile of books are to be left for one week. We'll be leaving them until the flowers are needed as this will be the safest place for them.

Wallet placed in book
Heavy books were placed on top
We'll return to this in November or December when we'll be making the calendars as Christmas gifts.