Wednesday, 8 August 2012

The beginning of 'Making' fever...

I just wanted to add this post because I'm excited to receive our first contribution from a reader!! This fabulous picture was posted on our Facebook Page by Polly of her daughter having a go at a 'Coin Picture'.

Lillyella getting creative. 
Thank you Polly & Lillyella. We hope you enjoyed making your picture and we look forward to seeing more photos from you in the future.

We'd love to see more photos from our readers. You can do this via Facebook or Twitter.

It seems that the 'Coin Picture' is quite a favourite! Amelie asked me to draw a Stegosaurus for her to colour in. She suggested using a coin for the plates on his back. I was really pleased that she was using her imagination and asking to use techniques that we have learnt through doing this challenge.  


Stegosaurus - we used a 20p to draw the plates. 
We created two more 'makes' today. So I'll be posting details on them soon. 

Tuesday, 7 August 2012

Make Coin Pictures


Making coin pictures need very little materials. So, as the sun was shining we made ours are in the garden.


Us enjoying the garden

Making coin pictures give you the opportunity to teach your children about currency (if you haven't already done so). We opened Amelie's money box and talk about each coin, their colour, shape and value. 

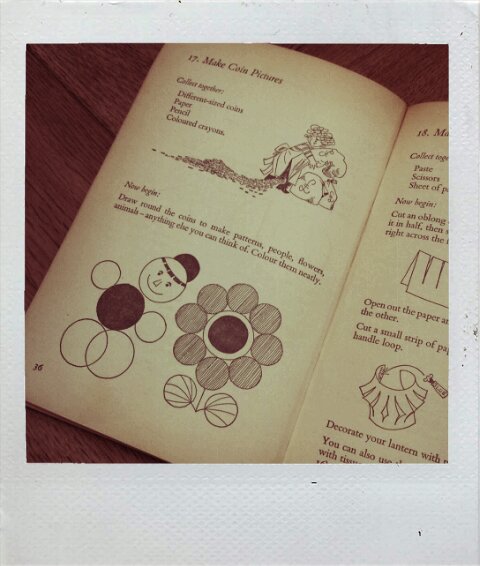
To make these pictures you need to draw around coins to build up a picture. This is a good exercise for pencil control. 

Time taken for us to make it: 30 mins  
Cost to me: Not a penny... We used Amelie's money box ;o)

Instructions in our 'Something to Make' book
What we used:

  • Coins
  • Paper 
  • Pencil
  • Pens & Crayons

What we did: As we were making these in the garden we taped the sheets of A4 paper to two large, hard-backed books. This just prevents the wind from whipping them to the end of the garden! We then started drawing around coins to gradually build our pictures. 

Concentrating hard - Drawing around a coin

Drawing in the garden is very relaxing


Once the picture was drawn we then coloured it in. 


Drawing around the coin
Colouring In - My favourite bit. 
I chose to make a garden scene, Amelie (with a little help from me) created a dinosaur. 


We coloured Amelie's dinosaur using different shades of green with felt tip pens, crayon and ball point pen. This created textures to represent scales. We then cut the pictures out, mounted them and fixed them into our scrapbook. 

Amelie's Dinosaur

My Garden Scene!
As you can see, this was very simple to create and more interesting than simply drawing a picture. Please do give it a go and let us know how you get on. 

Friday, 3 August 2012

A Mosaic

We've made two pieces since our last post! Here is our first... A Mosaic.

Mosaics can be made from any material. Small clay or glass tiles immediately spring to mind, but for this item we simply use wrapping paper.

Our paper mosaic piggy
Creating a paper mosaic can make good use of the mounds of wrapping paper you're left with after a birthday. Alternatively you could use magazine pages, gift cards or even an old yellow pages or catalogue. We chose to make a pig as we had a lot of pink paper in our Paper Box, but you can really make anything from flowers, animals, cars...! Let your child choose what to make through discussion, if you have a lot of yellow paper ask them 'What could we make that is yellow?' This will get them using their imagination. Remember to let them down gently when the suggest making something a little too challenging!

Our trusty 'Paper Box' - FULL of scraps of colourful paper.
How you use the paper can create different effects. We used scissors to cut out the pieces to encourage Amelie to develop hand-eye coordination. Scissors can be so fiddly for little hands, but practise can strengthen skill and accuracy. If we ripped the paper it would look more feathery. Ideal for birds or furry animals.

The original instructions on how to make a mosaic.
Time taken for us to make it: 1 hour (This included time spent cutting out the pieces. If you have small or impatient children you may want to cut out the pieces in advance).

Cost to Me: Not a penny!

What we used: 
  • Used wrapping paper 
  • Scissors (optional)
  • A4 sheet of paper
  • PVA glue & spreader
  • Pencil
  • Bowl 
  • Ramekin (or cup)
We started with drawing our pig. We drew around a bowl onto an A4 sheet of paper. We then used the ramekin to draw the snout. I drew the ears free-hand, my artistic skills could manage that. 

Using a bowl as a stencil. 
Drawing the ears free-hand


Our picture is ready for glue! But first...
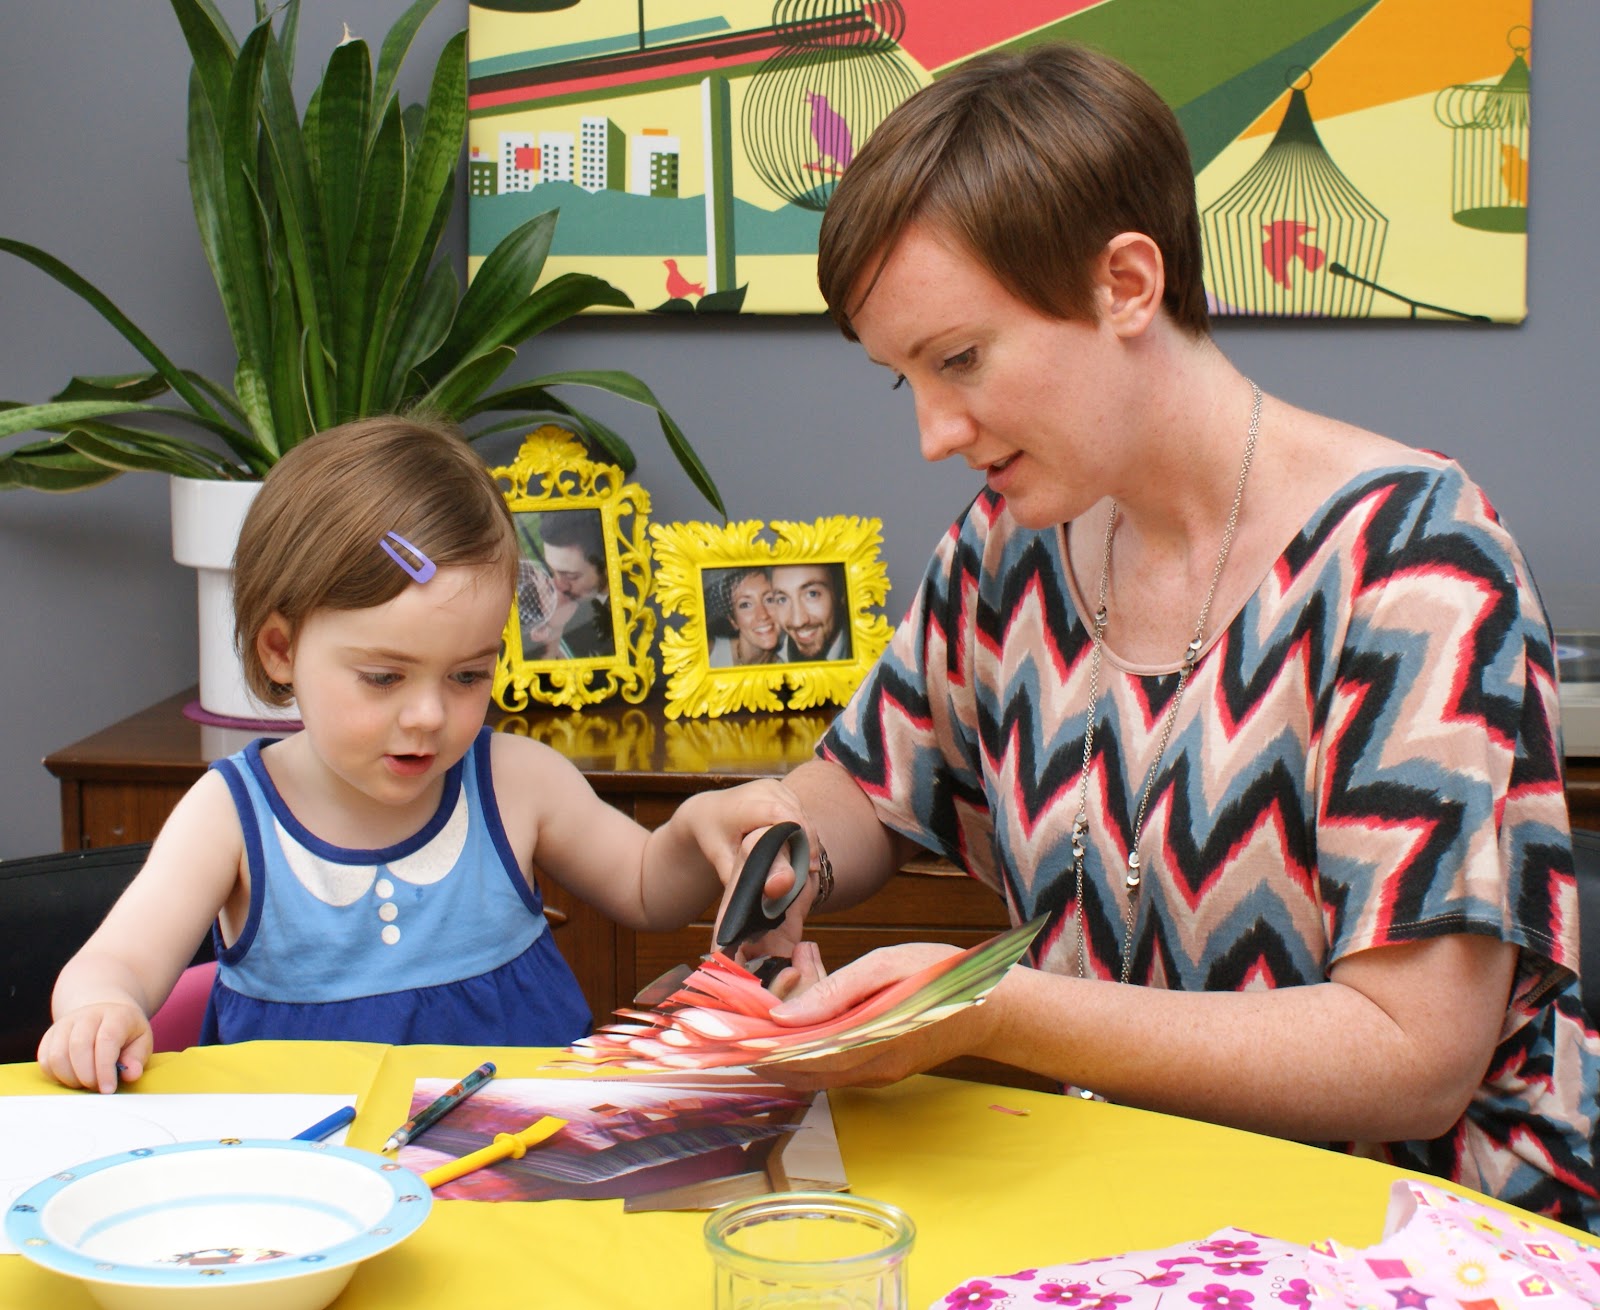
Before we get 'Sticking and Gluing', as we call it in our house, we need our mosaic pieces! As children start to learn how to use scissors they do what is called, 'Fringing'. This is where they make single cuts along the length of a piece of paper. This is exactly what we need for cutting out our pieces. 


Cut into the paper horizontally to create a fringe.
Then cut vertically to make small square pieces. 

Amelie has a go herself.
She's quite the perfectionist.

Now for the really fun part... GLUING!!

To create depth, detail and definition use different papers and textures. We kept it simple and used different shades for the face, ears and snout. 

Adding the glue to the paper.

Sticking down the paper pieces

Almost done...

Once all of the picture was filled with our little paper tiles, we added details using a pen and stickers. 


We cut out our mosaic so it had a nice neat edge and fixed it into our Scrap Book (see our first post for details).

There you have it, one very cute Mosaic Piggy. Please do have a go yourself. Let us know how you get on. You can leave a comment here or tweet me or post on our Facebook page. 

See you shortly for our next post x


Friday, 27 July 2012

Make a Scrapbook

Well it's always best to start at the beginning! So, here it is... the first item in the Something to Make book. A Scrapbook...

Making a scrapbook is a very simple item to start with and useful as we are about to create a LOT of paper pieces and this will keep everything looking neat and tidy. It involves sewing which is a great skill to teach children. It encourages hand-eye coordination and concentration. It also helps us grown-ups develop patience... sewing is not a quick task for little hands.

Time taken for us to make it: 45 minutes
Cost to me: 50p  


Make a Scrapbook instructions


What we used: 
  • At least 5 sheets of paper approx  60cm x 42cm 
  • Scissors 
  • A large needle (we have plastic one with a rounded tip, ideal for small children)
  • Thread picker
  • Embroidery thread
We had all of these items already at home other than the paper. We bought some cheap but thick paper for 10p per sheet from our local craft shop. We encourage you to do the same. The larger chain stores are great and they are very useful, but it goes without saying - always try to support your local independent shops or market stall holders.

Our friendly local craft shop

Gather all of your materials
What we did... We made sure that all the sheets of paper were the same size, then creased each sheet down the centre by folding them in half. Before sewing we made some guide holes down the centre of the creases. I marked where we needed the holes, then Amelie carefully punched them with the thread picker.


Carefully punching guide-holes for threading the spine
We tied a large knot in the thread, and sewed through all the sheets in large stitches up and down the crease. Finishing by securing the thread by knotting it around the last stitch.

Just keep sewing...
Just keep sewing...


Once the entire length of the spine was sewn together we decorated the cover with our felt tip pens. A proper cover will be made for this later on.

Get creative
There you go... easy peasy, lemon squeezy! We'll be using our scrapbook for things we'll be making during this challenge. We have also made another, much smaller one, using A4 paper which we used as a diary during our holiday. Each evening we wrote what we had done that day and drew a picture illustrating it. When we returned home we filled the remaining pages with some of the photos we had taken whilst away. Creating these scrapbooks are brilliant for recording precious memories, and spending the time making them from scratch will create a precious memory in itself.

That's it for this post. We hope you have enjoyed reading it. I'm just finding my stride, but I'm enjoying the process.

We're off to make some things out of paper! We'll keep you posted on how we get on :o) x