You may remember making these as a kid! Super simple and all you need is paper and scissors.
Time taken for us to make it: This 'make' took no time at all, but we did make quite a lot so it took about an hour. You can take as much or as little time as you like.
Cost to me: Nothing
 |
| Original instructions (square) |
 |
| Original instructions (circle) |
What we used:
- Thin white paper
- Scissors
- Small plate
- Pencil or pen
What we did:
We began with cutting paper into a square. We then folded it in half, then quarters and finally diagonally.
 |
| Cut out a square of paper |
 |
| Fold in half, then quarters |
 |
| Finally fold diagonally |
I then drew loops and shapes onto the folded paper as a guide for Amelie to cut out.
 |
| Draw shapes to be cut out |
Cutting out the shapes was a little hard for Amelie's small hands. So she just did the simple triangle-like shapes as they only involved two straight cuts into the folded paper.
Once all the shapes were cut out, the paper could hen be opened to reveal the snowflake. (Amelie loved this bit).
Using a saucer as a circular template we also made round snowflakes. Instead of starting by cutting a square of paper, we cut out a circle then used the same instructions.
 |
| Using a saucer as a guide cut a circle of paper |
 |
| Circular snowflake |
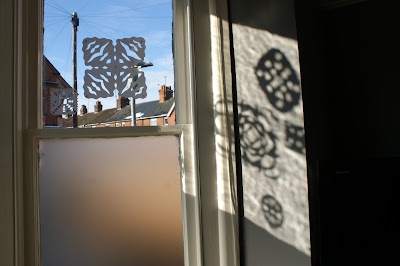
Using scraps of paper we made smaller snowflakes then displayed our collection in our lounge window.
 |
| Stick the snowflakes to a window using bluetack |
The paper snowflakes looked great on our windows and cast beautiful shadows in the afternoon sunshine a couple of days later.


.JPG)
.JPG)
.JPG)