We've made two pieces since our last post! Here is our first... A Mosaic.
Mosaics can be made from any material. Small clay or glass tiles immediately spring to mind, but for this item we simply use wrapping paper.
 |
| Our paper mosaic piggy |
Creating a paper mosaic can make good use of the mounds of wrapping paper you're left with after a birthday. Alternatively you could use magazine pages, gift cards or even an old yellow pages or catalogue. We chose to make a pig as we had a lot of pink paper in our Paper Box, but you can really make anything from flowers, animals, cars...! Let your child choose what to make through discussion, if you have a lot of yellow paper ask them 'What could we make that is yellow?' This will get them using their imagination. Remember to let them down gently when the suggest making something a little too challenging!
 |
| Our trusty 'Paper Box' - FULL of scraps of colourful paper. |
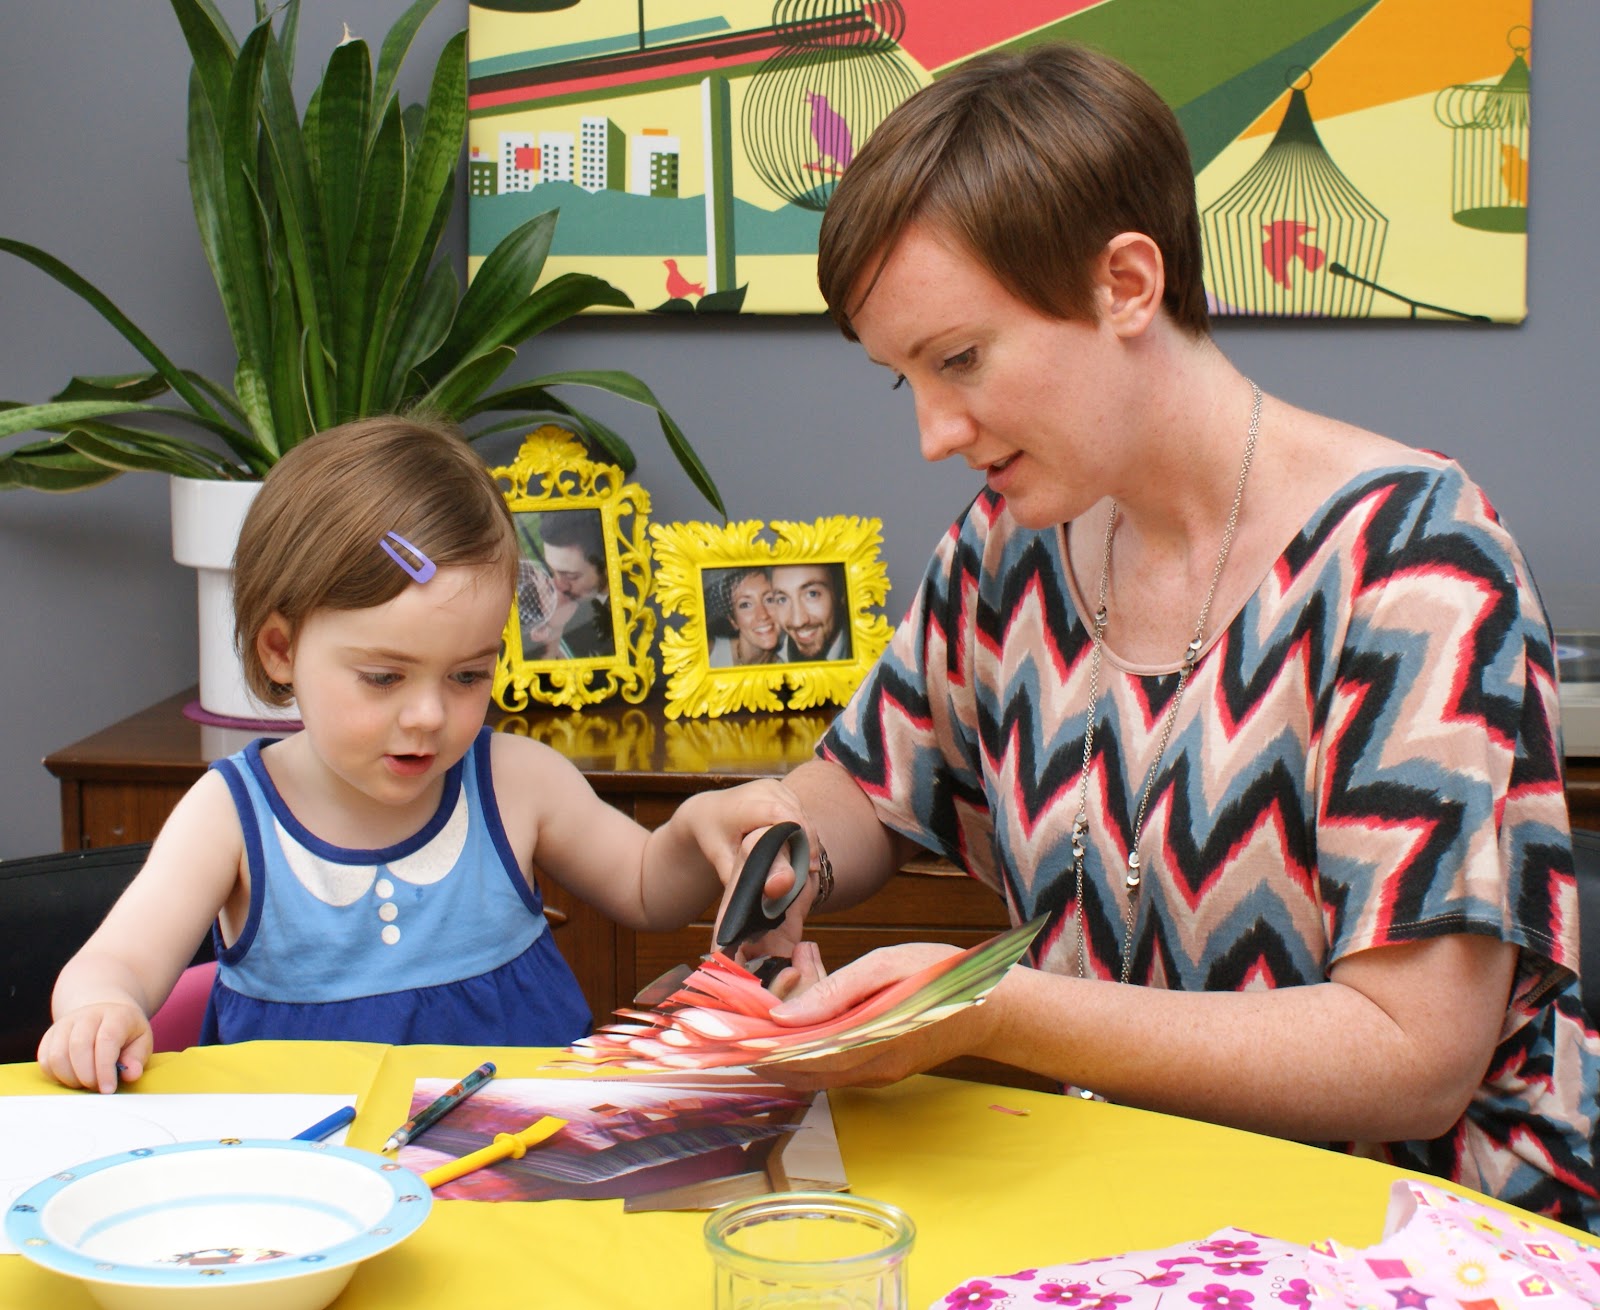
How you use the paper can create different effects. We used scissors to cut out the pieces to encourage Amelie to develop hand-eye coordination. Scissors can be so fiddly for little hands, but practise can strengthen skill and accuracy. If we ripped the paper it would look more feathery. Ideal for birds or furry animals.
 |
| The original instructions on how to make a mosaic. |
Time taken for us to make it: 1 hour (This included time spent cutting out the pieces. If you have small or impatient children you may want to cut out the pieces in advance).
Cost to Me: Not a penny!
What we used:
- Used wrapping paper
- Scissors (optional)
- A4 sheet of paper
- PVA glue & spreader
- Pencil
- Bowl
- Ramekin (or cup)
We started with drawing our pig. We drew around a bowl onto an A4 sheet of paper. We then used the ramekin to draw the snout. I drew the ears free-hand, my artistic skills could manage that.
 |
| Using a bowl as a stencil. |
 |
| Drawing the ears free-hand |
 |
| Our picture is ready for glue! But first... |
Before we get 'Sticking and Gluing', as we call it in our house, we need our mosaic pieces! As children start to learn how to use scissors they do what is called, 'Fringing'. This is where they make single cuts along the length of a piece of paper. This is exactly what we need for cutting out our pieces.
 |
| Cut into the paper horizontally to create a fringe. |
 |
| Then cut vertically to make small square pieces. |
 |
| Amelie has a go herself. |
 |
| She's quite the perfectionist. |
Now for the really fun part... GLUING!!
To create depth, detail and definition use different papers and textures. We kept it simple and used different shades for the face, ears and snout.
 |
| Adding the glue to the paper. |
 |
| Sticking down the paper pieces |
 |
| Almost done... |
Once all of the picture was filled with our little paper tiles, we added details using a pen and stickers.
We cut out our mosaic so it had a nice neat edge and fixed it into our Scrap Book (see our first post for details).
There you have it, one very cute Mosaic Piggy. Please do have a go yourself. Let us know how you get on. You can leave a comment here or
tweet me or post on our
Facebook page.
See you shortly for our next post x


Lovely illustrated. I think I could recreate this with my Niece as she has become such an expert a Mosaic prep.
ReplyDeleteGood luck with your challenge!
Jen x
Thanks for your comment Jenny. Be sure to send me a picture of your mosaic via Facebook or Twitter :o)
Delete